H.323协议研究笔记
简介
本文主要介绍 h323 库使用过程遇到的问题和简单例子
H323 使用
H323库、Gungk、FreeSwitch安装遇到的问题
安装环境
CentOS Linux release 7.3.1611 (Core)
ptlib-2_10_9_2
安装教程:http://wiki.opalvoip.org/index.php?n=Main.BuildingPTLibUnix#Install
- configure: error: PTLib needs the GNU Project fast lexical analyzer generator flex
解决方案:
yum install flex - configure: error: PTLib needs the GNU Project parser generator bison
解决方案:
yum install bison
h323plus-1_27_0
安装参考:http://wiki.opalvoip.org/index.php?n=Main.BuildingOpalUnix
gnugk-4.7
安装参考:https://freeswitch.org/confluence/display/FREESWITCH/CentOS+7+and+RHEL+7
错误一
1 | make -C /usr/local/src opt |
解决方案:
cp (原文件目录)/lib/libh323_linux_x86_64__s.a /usr/local/lib/
错误二
make: *** No rule to make target /usr/local/share/ptlib//lib_linux_x86_64/libpt.so', needed by versionts.h’. Stop.
解决方案:
ln -s /usr/local/lib/libpt.so /usr/local/share/ptlib//lib_linux_x86_64/
freeswitch-1.8.2
安装参考:https://freeswitch.org/confluence/display/FREESWITCH/CentOS+7+and+RHEL+7
安装前:
- yum install -y http://files.freeswitch.org/freeswitch-release-1-6.noarch.rpm epel-release
- yum install -y alsa-lib-devel autoconf automake bison broadvoice-devel bzip2 curl-devel db-devel e2fsprogs-devel flite-devel g722_1-devel gcc-c++ gdbm-devel gnutls-devel ilbc2-devel ldns-devel libcodec2-devel libcurl-devel libedit-devel libidn-devel libjpeg-devel libmemcached-devel libogg-devel libsilk-devel libsndfile-devel libtheora-devel libtiff-devel libtool libuuid-devel libvorbis-devel libxml2-devel lua-devel lzo-devel mongo-c-driver-devel ncurses-devel net-snmp-devel openssl-devel opus-devel pcre-devel perl perl-ExtUtils-Embed pkgconfig portaudio-devel postgresql-devel python26-devel python-devel soundtouch-devel speex-devel sqlite-devel unbound-devel unixODBC-devel wget which yasm zlib-devel
错误一
1 | making all mod_h323 |
解决方案:
ln -s /usr/local/include/openh323 /usr/include/openh323
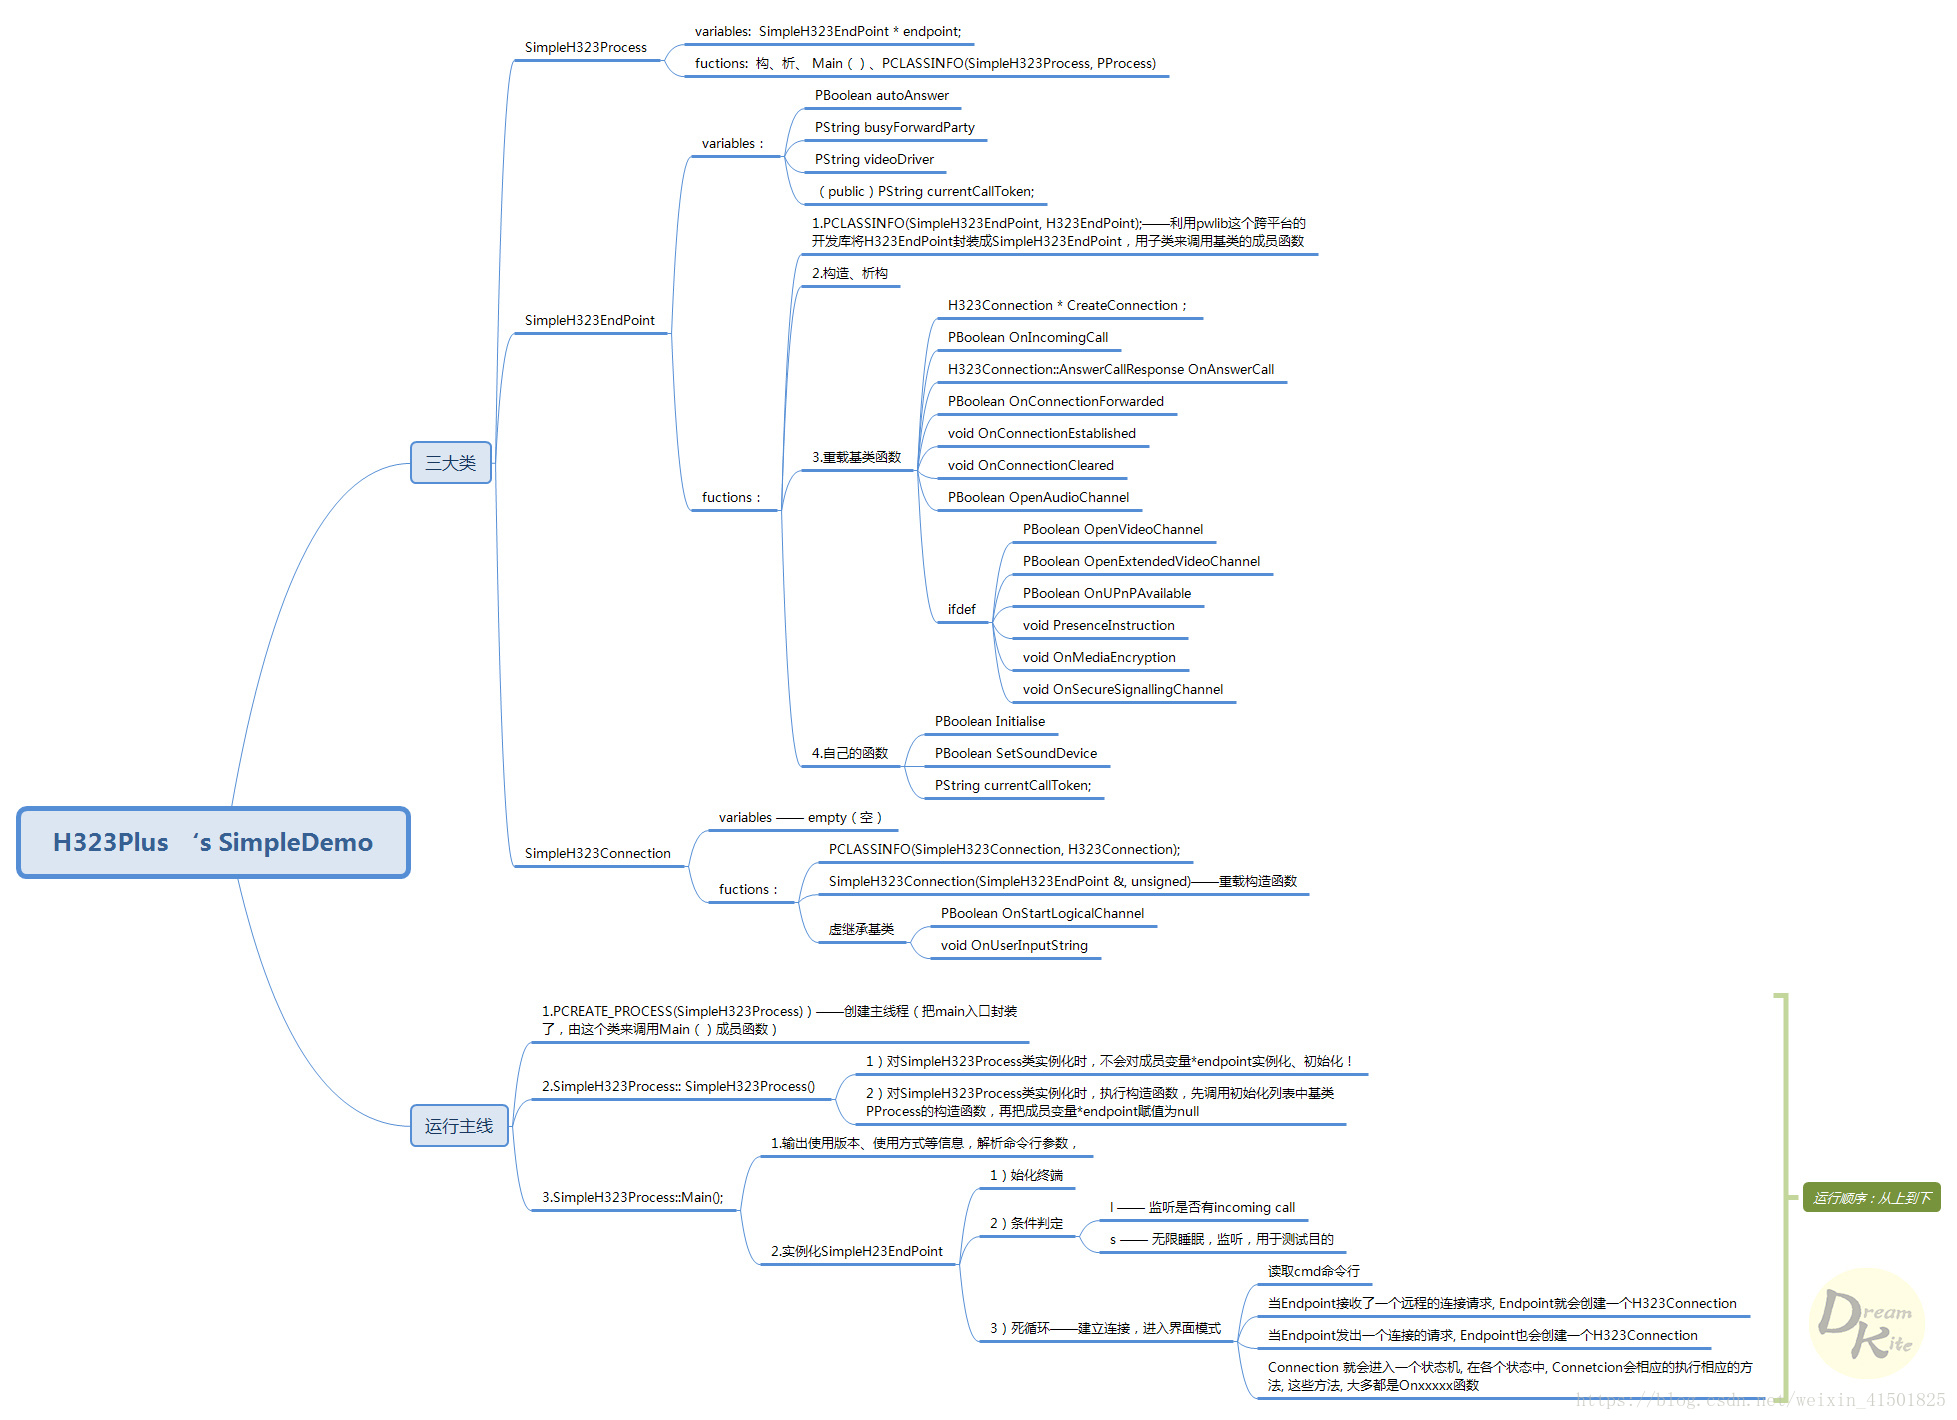
H323Plus中的simple
simple框架
编译可供java调用的动态库
需要自己进行接口封装,需要注意的有以下几点:
- java生成.h头文件
- C++根据生成的.h头文件编写.cxx文件
- C++回调java的接口形式
- 因为库不需要main函数作为入口了,所以没有实现PProcess,启动时会报错,有两点解决方案:
- 重写void _init(void);函数
- 自己找出哪儿调用的PProcess,重写或修改该逻辑
我采用的是第1个方案,下面介绍一下该函数:
_init和_fini函数用在装载和卸载某个模块(注释14)时分别控制该模块的构造器和析构器(或构造函数和析构函数)。他们的C语言原型如下:
void _init(void);
void _fini(void);
当一个库通过dlopen()动态打开或以共享库的形式打开时,如果_init在该库中存在且被输出出来,则_init函数会被调用。如果一个库通过dlclose()动态关闭或因为没有应用程序引用其符号而被卸载时,_fini函数会在库卸载前被调用。
当使用自己的_init和_fini函数时,需要注意不要与系统启动文件一起链接。可以使用GCC选项 -nostartfiles 做到这一点。
重写该函数有3种方法:
- 直接重写_init(void);函数 加上-nostartfiles选项,如:gcc … -nostartfiles
- 重写为_myinit(void);函数 加上-Wl,-init=myinit选项,如:gcc … -Wl,-init=myinit
- 本人对于c++不甚熟悉,以上3中方法如有错误,请指出,不胜感激。
1
2
3
4
5
6
void __attribute__((constructor)) x_init(void);
void __attribute__((destructor)) x_fini(void);
例:
__attribute__((constructor)) void myinit() {
cout << "myinit method! " << "\n";
}